
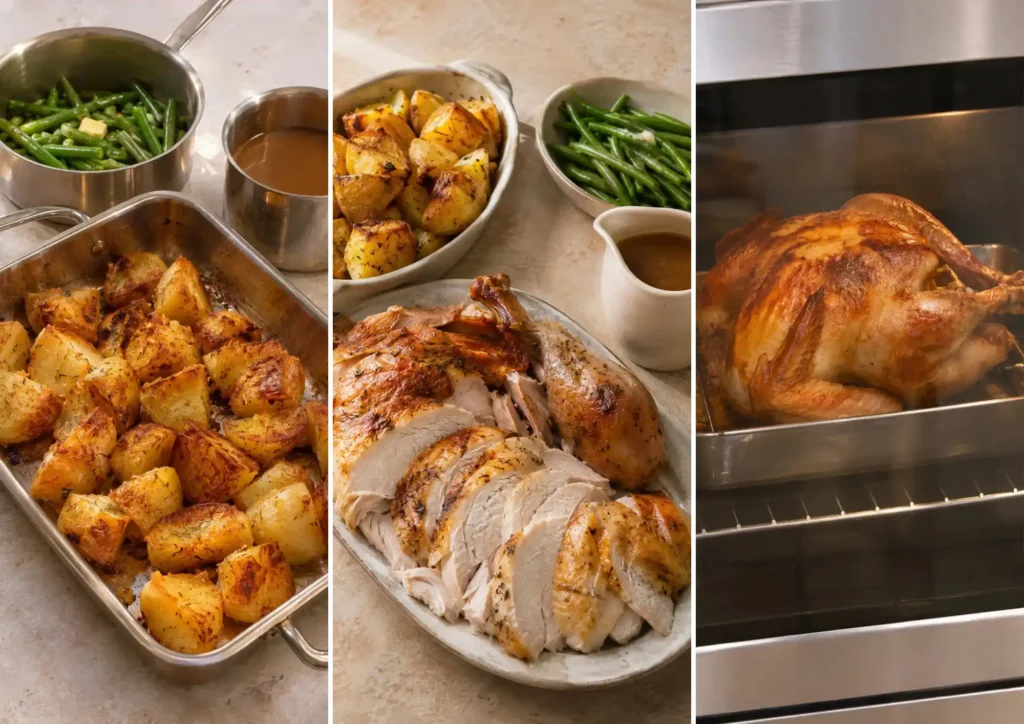
Christmas dinner can get stressful when the turkey is still roasting, the potatoes need the oven, and everyone is asking when dinner will be ready. Even a simple menu becomes difficult when several dishes need your attention at once.
Learning how to plan christmas dinner starts with one important decision: when you want everyone to eat. Once you have a serving time, you can work backward to decide when to roast the turkey, cook the vegetables, make the gravy, and prepare dessert.
You don’t need a complicated menu or expensive kitchen equipment. You need a realistic schedule that accounts for your oven space and the food you can prepare ahead.
This guide walks you through the entire process, starting about two weeks before Christmas and finishing when dinner reaches the table. You’ll learn how to choose your menu, calculate food quantities, organize shopping, prepare dishes in advance, and manage the cooking schedule.
We’ll use 5:00 PM on Christmas Day as our example serving time. You can adjust the schedule to suit your family. By the time Christmas arrives, you’ll know what needs cooking, what can wait, and which jobs are already finished.
Christmas Dinner Planning Time and Difficulty
CHRISTMAS DINNER PLANNING AT A GLANCE
Know What to Expect Before You Begin
10–14 Days
Suggested planning window before Christmas
45–60 Min
Estimated initial menu and schedule planning
Beginner
Difficulty with a manageable menu and written timeline
Cooking and active preparation times vary with the menu, roast size, and equipment. The sample dinner is served at 5:00 PM.
What You Need to Plan Christmas Dinner
You don’t need every ingredient in the kitchen yet. Start with your guest information, recipes, a calendar, and the equipment you’ll use. The shopping quantities come later, once your menu and guest count are confirmed.
CHRISTMAS DINNER SUPPLY CHECKLIST
Gather These Before You Start Planning
📝 Planning Essentials
✓ Calendar or phone calendar
✓ Notebook or planning app
✓ Guest list and contact details
✓ Dietary and allergy information
✓ Recipes with cooking instructions
✓ Shopping list and menu plan
🍳 Kitchen Equipment
✓ Oven and suitable roasting pan
✓ Food thermometer
✓ Baking trays and saucepans
✓ Cutting board, knife, and peeler
✓ Measuring cups and spoons
✓ Oven mitts and recipe-required foil
✓ Serving dishes and utensils
✓ Food storage containers
🛒 Grocery Categories
✓ Main dish, such as turkey or another roast
✓ Potatoes and fresh vegetables
✓ Butter, milk, and other dairy
✓ Stock, herbs, and seasonings
✓ Dessert ingredients
🏠 Space to Check
✓ Refrigerator shelf space
✓ Freezer space if needed
✓ Oven rack positions
✓ Clear kitchen work surface
✓ Dining and serving area
Planning reminder: This is a starter checklist for a traditional roast dinner. Your final grocery list and equipment needs should follow the recipes you select.
Christmas Dinner Planning Timeline at a Glance
Use this overview to see which jobs belong on which days. The detailed cooking schedule will come after you’ve chosen your menu.
YOUR CHRISTMAS DINNER ROADMAP
19 Steps from Planning to Serving
📅 10 to 14 Days Before
1. Set your serving time
2. Confirm guests and meal needs
3. Choose a manageable menu
4. Calculate food quantities
5. Check equipment and oven space
🛒 7 to 9 Days Before
6. Write your shopping list
7. Build your cooking timeline
8. Buy shelf-stable supplies
❄️ Several Days Before
9. Thaw frozen turkey safely
10. Buy perishable ingredients
11. Prepare make-ahead dishes
🥕 Christmas Eve
12. Prepare the vegetables
13. Set the dining table
🎄 Christmas Day
14. Cook the main dish
15. Check safe doneness
16. Rest the roast
17. Finish and reheat sides
18. Carve the main dish
19. Serve Christmas dinner
Example serving time: 5:00 PM on Christmas Day. Actual cooking start times depend on your recipes and roast size.
Step 1. Set Your Christmas Dinner Serving Time
Your serving time controls every cooking decision you’ll make later. Choose a time that gives you enough room for roasting, resting the meat, and finishing the side dishes.
For this guide, we’ll use 5:00 PM on December 25.
Write that time at the top of your Christmas dinner plan so it’s easy to find.
Keep these two times separate:
- Guest arrival: Around 4:00 PM, if that suits your gathering.
- Dinner served: 5:00 PM.
You can change both, but avoid changing the dinner time repeatedly after you’ve built your cooking schedule.
Step 2. Confirm Your Guest Count and Dietary Requirements
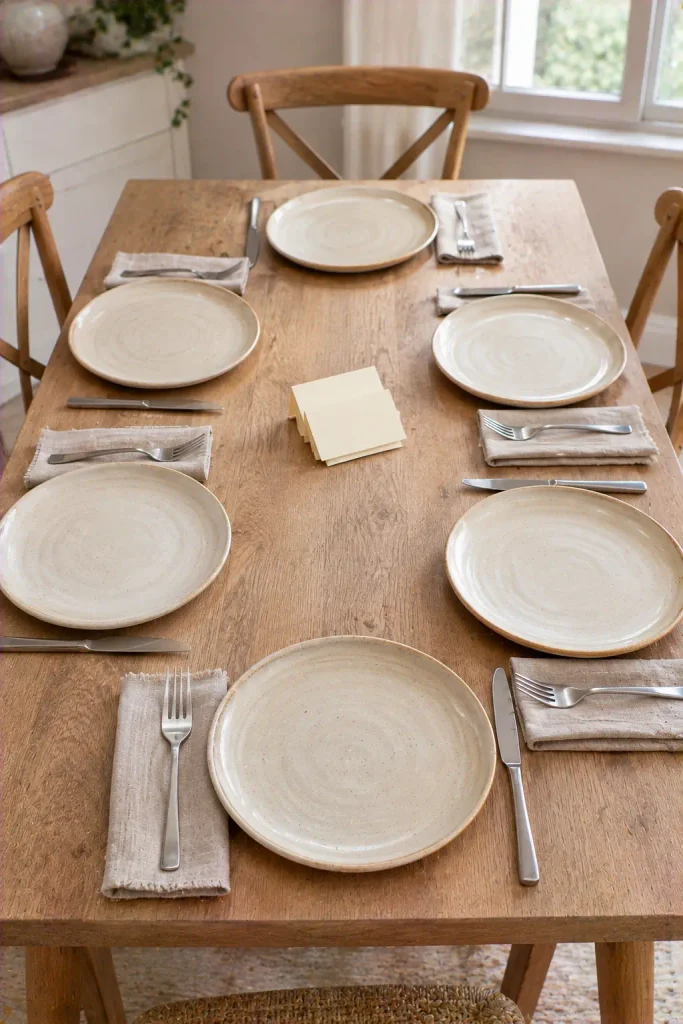
A dinner for six people needs different quantities, table space, and preparation time than a dinner for twelve.
Send one message to everyone invited and ask them to confirm their attendance and any food needs.
Make sure you know:
- How many adults and children will eat.
- Whether anyone has food allergies or intolerances.
- Whether anyone needs vegetarian, vegan, or other special dishes.
- Whether guests are bringing food you’ve agreed to include.
For allergies, ask about cross-contact requirements rather than assuming that leaving an ingredient off the plate is enough.
Keep the answers together in your planning notes. You’ll use them to calculate portions and finalize your menu.
Step 3. Choose a Christmas Dinner Menu You Can Manage
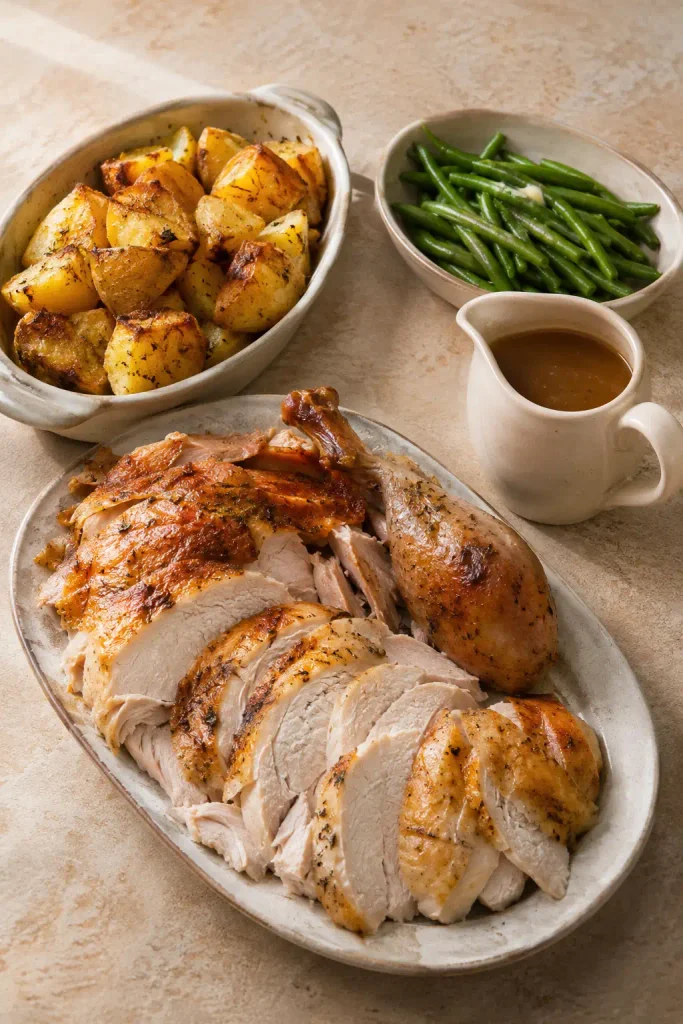
A full Christmas dinner doesn’t need eight side dishes. Too many recipes can create problems when several need the oven at the same time.
For a beginner-friendly meal, use this example menu:
- Main: Roast turkey
- Side 1: Crispy roasted potatoes
- Side 2: Buttered green beans
- Sauce: Homemade turkey gravy
- Dessert: Make-ahead Christmas trifle
This combination gives you a main dish, two sides, gravy, and dessert without filling the oven with everything at once.
The turkey uses the oven first. You can plan the potatoes around its resting time, while the green beans and gravy use the stovetop.
Choose recipes that match your equipment and guest needs. Save the exact instructions for your cooking timeline.
Step 4. Calculate How Much Food to Prepare
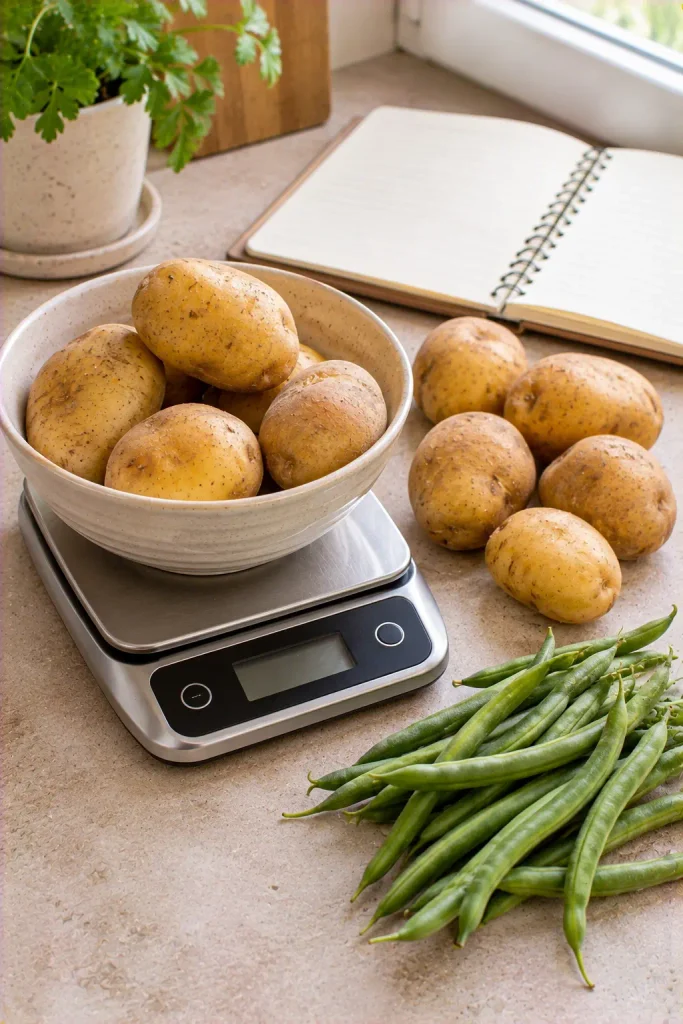
Buying too much food creates extra work, while buying too little leaves you worrying about portions.
Use your confirmed guest count and calculate the main dish, sides, gravy, and dessert separately. For example, if you’re feeding 6 adults, use the following amounts as a starting point:
- Whole turkey: Approximately 9–12 lb, including bones.
- Potatoes: 1.2–1.5 kg.
- Green beans: 750–900 g.
- Gravy: Approximately 600–750 ml.
- Dessert: 6 generous portions.
Allow a little more turkey if you want leftovers. Adjust quantities for children, appetites, and additional side dishes.
Step 5. Check Your Oven Space and Cooking Equipment
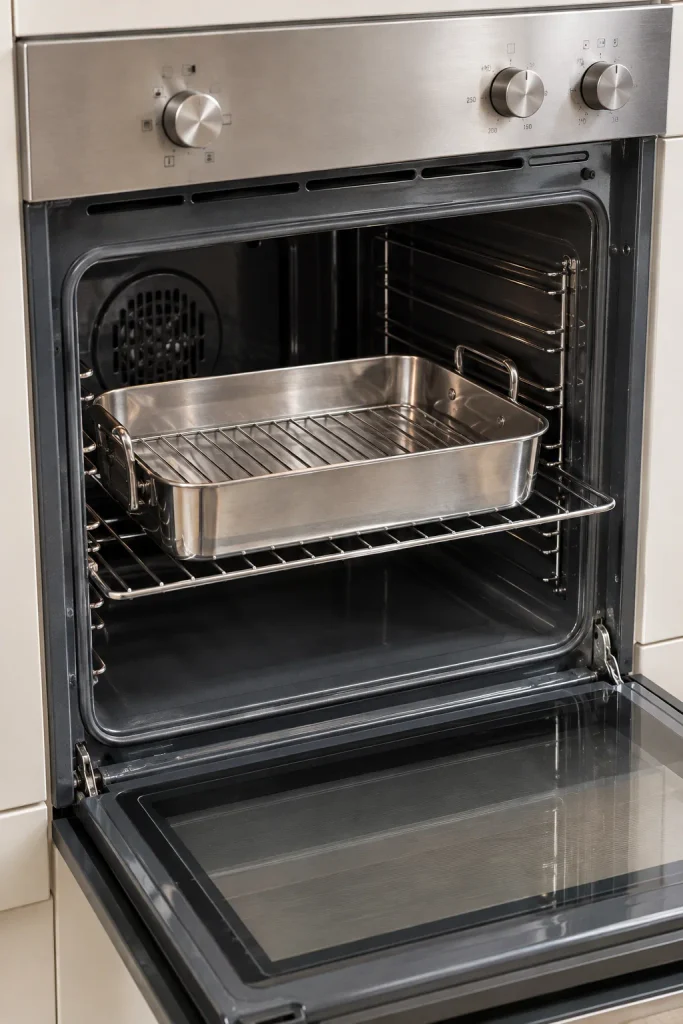
A large roasting pan can take up more oven space than you expect. Finding this out on Christmas morning makes the cooking schedule harder to manage.
With the oven switched off and completely cool, place your empty roasting pan on its intended rack. Check that the oven door closes and that there’s enough space around the pan for air to circulate.
Check these items before finalizing the menu:
- Roasting pan and baking trays.
- Food thermometer and oven mitts.
- Saucepan space for vegetables and gravy.
- Refrigerator space for the turkey and prepared dishes.
If your oven is small, plan to roast potatoes while the turkey rests.
Plan Around Your Oven Space
💡 One Oven? Give Every Dish Its Own Time
Write down which recipes need oven space, their temperatures, and their cooking times. Do not assume different dishes can share the oven.
Example Oven Order
1. Roast the turkey until safely cooked.
2. Use the turkey’s resting window for roasted potatoes.
3. Finish the green beans and gravy on the stovetop.
This is an equipment plan, not a timed cooking schedule. Confirm actual oven times when choosing your recipes.
Step 6. Write a Complete Christmas Dinner Shopping List
A shopping list works better when ingredients are grouped by supermarket section rather than by recipe. You can see what you already own and avoid buying the same item twice.
Write down every ingredient from your chosen recipes, including the amounts calculated in Step 4.
Organize your list into four groups:
- Meat: Turkey or your chosen main dish.
- Fresh produce: Potatoes, green beans, onions, carrots, and herbs.
- Refrigerated: Butter, milk, cream, and dessert ingredients.
- Pantry: Stock, flour, oil, salt, pepper, and seasonings.
Check your cupboards before shopping. Mark ingredients that must be purchased closer to Christmas.
Step 7. Build Your Christmas Dinner Cooking Timeline
The biggest mistake is scheduling every dish to finish at 5:00 PM without allowing time to rest the turkey, carve it, or transfer food into serving dishes.
Start with your serving time and work backward. Write down the oven temperature, cooking duration, and resting time for each recipe.
Use these planning checkpoints:
- 5:00 PM: Serve Christmas dinner.
- 4:30–5:00 PM: Carve, finish the gravy, and arrange the dishes.
- Before carving: Allow the turkey its required resting time.
Check the potatoes separately. Their roasting time may exceed the turkey’s resting period, so they may need to be cooked earlier and reheated.
Plan Your Christmas Dinner Timeline Backward
CHRISTMAS DINNER TIMELINE
Work Backward from 5:00 PM
Sample planning checkpoints for a Christmas dinner with roast turkey, potatoes, green beans, and gravy.
5:00 PM
Serve Dinner
Have the main dish, sides, gravy, and serving utensils ready.
4:30–5:00 PM
Final Kitchen Jobs
Carve the rested turkey, finish the gravy, and transfer hot sides to serving dishes.
Earlier
Finish Roasting
Allow enough time to verify safe doneness and rest the turkey before carving.
💡 One-Oven Scheduling Rule
Record the temperature and estimated oven time for the turkey and potatoes separately. If both cannot fit or need different temperatures, cook the potatoes earlier and plan a reheating or crisping window.
Important: Calculate the turkey’s oven start time from its weight, roasting method, and recipe. This example does not establish a safe or guaranteed roasting duration.
Step 8. Buy Your Shelf-Stable Ingredients and Supplies

A week before Christmas is a good time to buy ingredients that don’t need refrigeration. This keeps your final shopping trip focused on fresh food.
Take the shopping list from Step 6 and purchase stock, flour, cooking oil, dried herbs, seasonings, and other pantry ingredients.
Check the quantities on each package against your recipes. Don’t overlook small supplies such as baking parchment, food storage bags, and foil.
Store everything together in a cupboard or pantry area. Keep the items clearly separated from your everyday groceries so you can find them when Christmas cooking begins.
Step 9. Start Thawing Your Frozen Turkey Safely

A frozen turkey can take several days to thaw in the refrigerator. Waiting until Christmas Eve may leave you with a partly frozen bird on cooking day.
Allow approximately 24 hours for every 4–5 lb (1.8–2.3 kg) of whole turkey when thawing in a refrigerator at 40°F (4°C) or below.
For the 9–12 lb turkey in our sample menu, plan approximately 3 days of refrigerator thawing.
Keep the turkey wrapped, place it on a rimmed tray, and use the bottom refrigerator shelf to contain any drips.
Once fully thawed, cook it within 1–2 days.
Avoid These Turkey Thawing Mistakes
TURKEY THAWING SAFETY
⚠️ Three Mistakes to Avoid
1. Thawing on the Counter
Never leave frozen turkey on the kitchen counter to thaw. The outside can enter an unsafe temperature range while the center remains frozen.
2. Forgetting the Drip Tray
Raw turkey juices can leak onto other foods. Place the wrapped turkey on a rimmed tray on the bottom refrigerator shelf.
3. Starting Too Late
A large frozen turkey needs several days in the refrigerator. Calculate the thawing period using the bird’s weight rather than guessing.
❄️ Quick Thawing Reference
4–12 lb: Approximately 1–3 days in the refrigerator.
12–16 lb: Approximately 3–4 days.
16–20 lb: Approximately 4–5 days.
These are approximate refrigerator thawing periods for whole turkey at 40°F (4°C) or below.
Step 10. Shop for Fresh and Refrigerated Ingredients
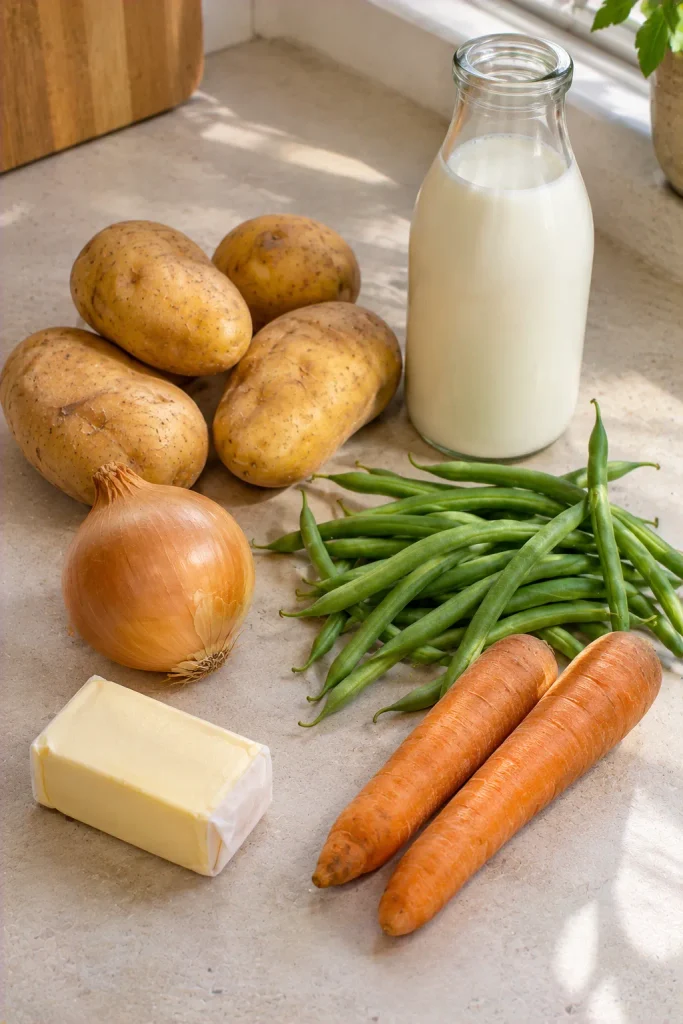
Your pantry ingredients are already sorted. Now it’s time to buy the fresh foods on your Christmas dinner shopping list.
Plan this trip around the storage life of each ingredient. Buy potatoes, carrots, onions, and other longer-lasting vegetables a few days ahead. Purchase delicate produce, dairy, and fresh meat closer to when you’ll use them.
Before leaving the store, check:
- The use-by dates on refrigerated foods.
- The quantity of vegetables for each guest.
- The ingredients needed for your make-ahead dessert.
Take chilled and frozen foods home promptly. Store them at the temperatures stated on their packaging.
Step 11. Prepare Your Make-Ahead Dishes
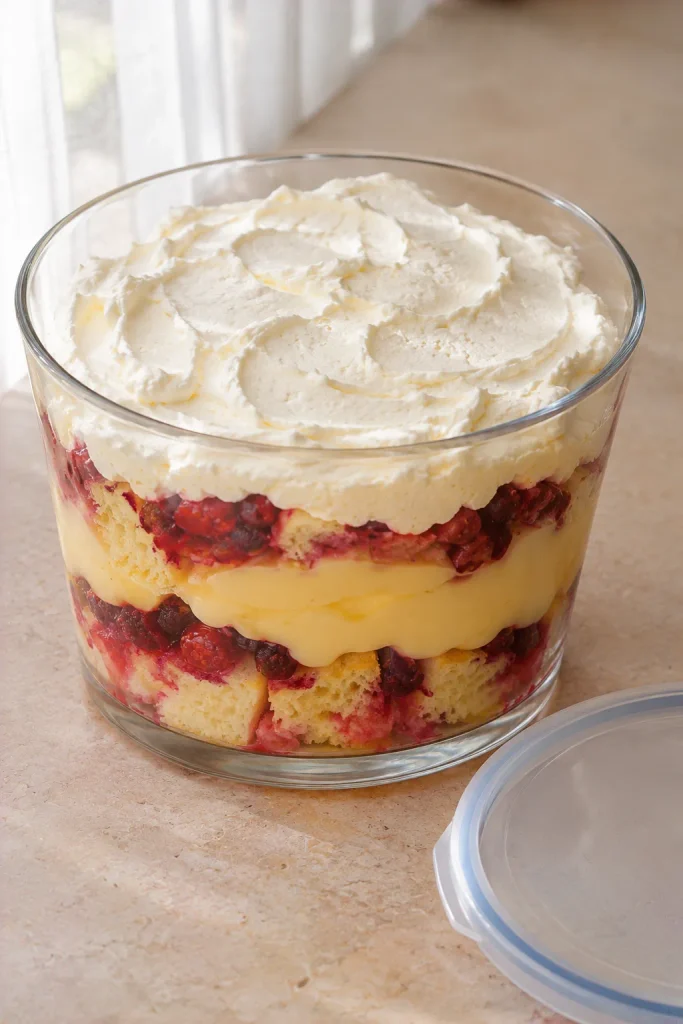
Christmas Eve becomes much easier when dessert and a few other dishes are already prepared.
For our sample menu, prepare the trifle components ahead of time. Assemble the dessert according to your recipe, cover it, and refrigerate it. Keep any crunchy toppings separate until serving.
Other useful make-ahead jobs include:
- Preparing gravy stock and refrigerating it.
- Measuring dry ingredients for your side dishes.
- Making sauces that your recipes allow you to store safely.
Label containers with their preparation dates. Cool cooked food promptly and refrigerate perishables at 40°F (4°C) or below. Avoid preparing food too far ahead without checking its safe storage period.
Step 12. Prepare the Vegetables for Christmas Dinner
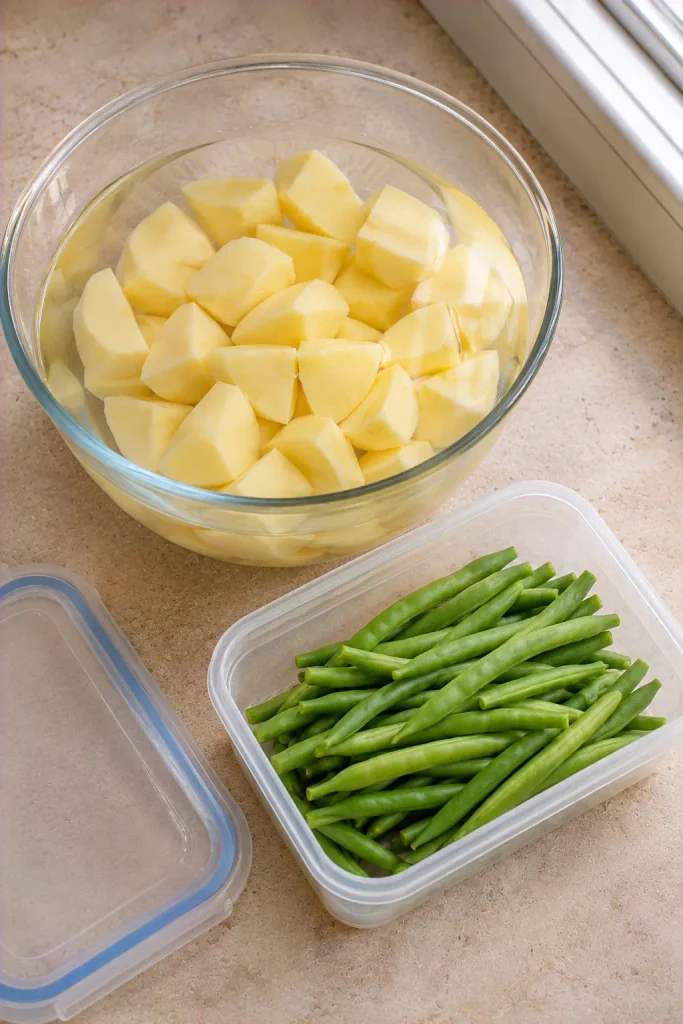
Peeling potatoes and trimming vegetables can take longer than expected, especially when the kitchen is busy.
On December 24, prepare the vegetables for your planned menu.
For the sample Christmas dinner:
- Peel the potatoes and cut them into similar-sized pieces.
- Place the potatoes in cold water and refrigerate overnight.
- Wash and trim the green beans, dry them, and refrigerate in a covered container.
Keep prepared vegetables chilled until cooking.
On Christmas Day, drain and dry the potatoes thoroughly before roasting. Excess water prevents their surfaces from browning properly.
Christmas Morning Before and After Preparation
CHRISTMAS EVE PREPARATION GUIDE
What Changes When You Prep Ahead?
A few jobs finished on Christmas Eve can free up valuable kitchen time on Christmas Day.
BEFORE: No Preparation
🥔 Potatoes
Still need peeling, cutting, and drying before cooking.
🥬 Green Beans
Need washing and trimming while the other dishes cook.
🍰 Dessert
Still needs assembling when counter space is limited.
AFTER: Christmas Eve Prep
🥔 Potatoes
Peeled, cut, and refrigerated in cold water. Drain and dry before roasting.
🥬 Green Beans
Washed, trimmed, dried, and stored in the refrigerator.
🍰 Dessert
Prepared and safely chilled, with final toppings ready to add.
💡 Christmas Eve Reminder
Preparation saves time only when the food is stored correctly. Keep refrigerated ingredients chilled, cover prepared dishes, and leave roasting and final reheating for your cooking timeline.
Step 13. Set the Christmas Dinner Table
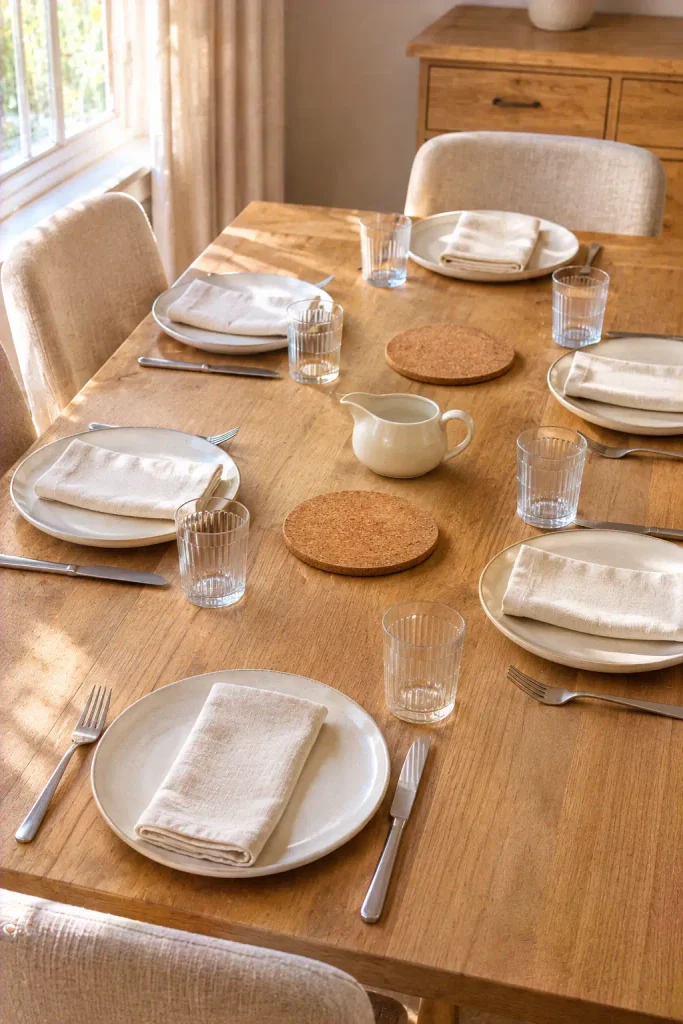
Christmas Eve is the best time to finish the table if you’re using the same dining area the next day. It removes one more job from your Christmas Day schedule.
Arrange a dinner plate, cutlery, napkin, and drinking glass for each guest. Leave enough room in the center for serving dishes if you’re planning a family-style meal.
Before calling the table finished, check:
- You have enough chairs for every guest.
- Serving spoons and gravy boats are clean.
- There’s space for hot dishes and heatproof trivets.
- Children’s seating is ready if needed.
Keep the table decorations low enough for guests to see one another.
Step 14. Cook the Main Dish According to Your Timeline
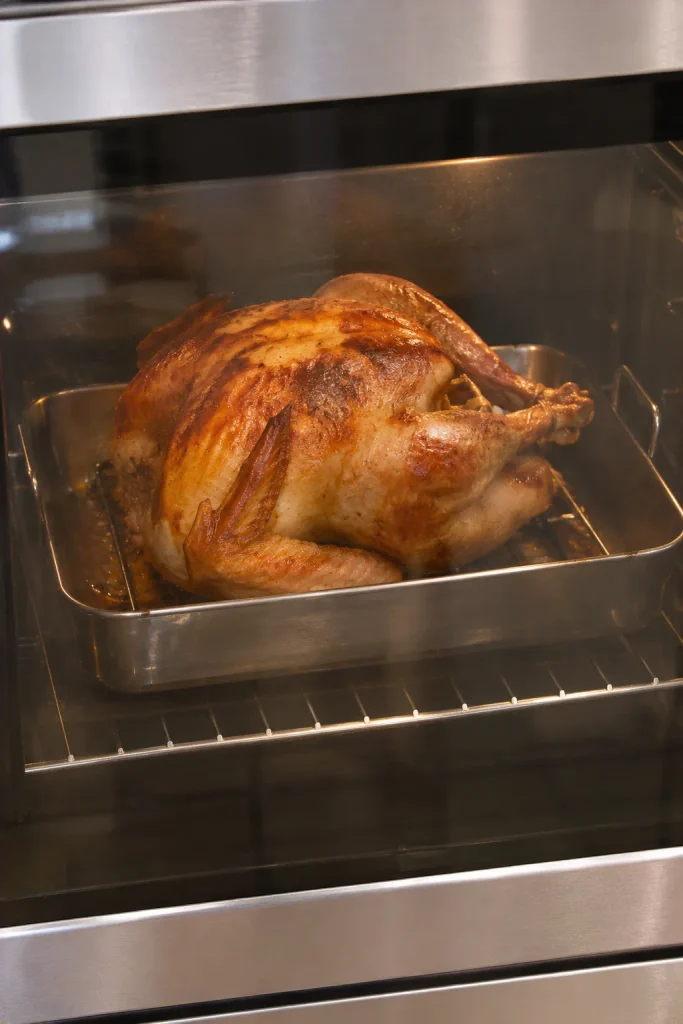
Christmas morning is when your written cooking schedule starts doing the work.
For our sample 9–12 lb unstuffed turkey, preheat the oven to 325°F (163°C). Place the fully thawed turkey breast-side up on a rack inside a roasting pan.
The estimated roasting time for an 8–12 lb unstuffed turkey is 2 hours 45 minutes to 3 hours. These are planning estimates, not guaranteed cooking times. FoodSafety.gov+1
For a 5:00 PM dinner, an oven start around 12:30 PM allows some time for temperature checks and resting, assuming this size and method. Your turkey’s measured temperature determines when it is done.
Give the Roast Enough Time
CHRISTMAS DAY ROASTING TIP
💡 Treat Cooking Times as Estimates
A turkey’s weight, starting temperature, and oven performance can affect how long it takes to cook.
Sample Roast: 9–12 lb Unstuffed Turkey
Oven: 325°F (163°C)
Estimated cooking: Approximately 2 hours 45 minutes to 3 hours for an 8–12 lb turkey
Target internal temperature: 165°F (74°C) in all required locations
Leave a time buffer for checking doneness and resting. Never remove the turkey based on the clock alone.
Step 15. Check the Main Dish for Safe Doneness
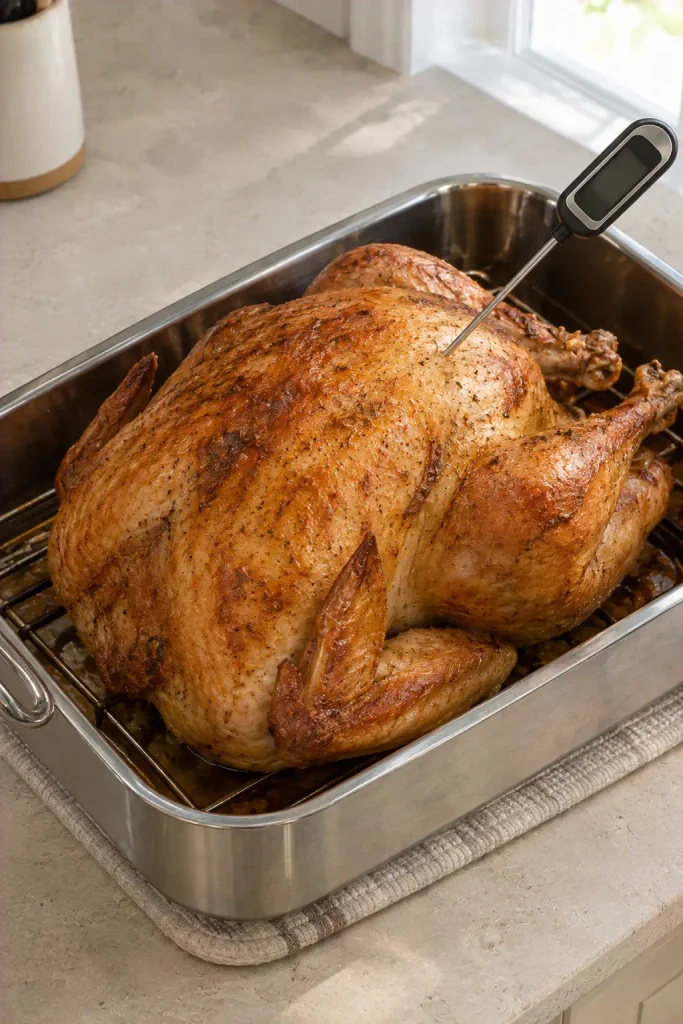
Golden-brown skin doesn’t tell you whether the middle of a turkey is fully cooked. A food thermometer does.
Start checking near the end of the estimated roasting time. Insert the thermometer into the thickest part of the breast, the innermost thigh, and the innermost wing, without touching bone.
Every location must reach at least 165°F (74°C).
If one area reads below that temperature, return the turkey to the oven and check again.
For a stuffed turkey, the center of the stuffing must also reach 165°F (74°C).
Where to Check a Turkey’s Temperature
TURKEY FOOD SAFETY CHECK
Check These Three Places Before Removing the Turkey
Insert a food thermometer into each location without touching bone.
Thickest Breast
Check deep in the thick breast meat, keeping the probe away from bone.
Innermost Thigh
Measure the inner thigh meat near the body without touching the joint or bone.
Innermost Wing
Check the inner wing area where it joins the body, avoiding bone.
SAFE MINIMUM INTERNAL TEMPERATURE
165°F / 74°C
All three locations must meet this temperature. Check stuffing separately if the bird is stuffed.
⚠️ If One Reading Is Too Low
Continue roasting and check again. Browning, clear juices, and pop-up indicators are not reliable replacements for a food thermometer.
Step 16. Rest the Roast Before Carving
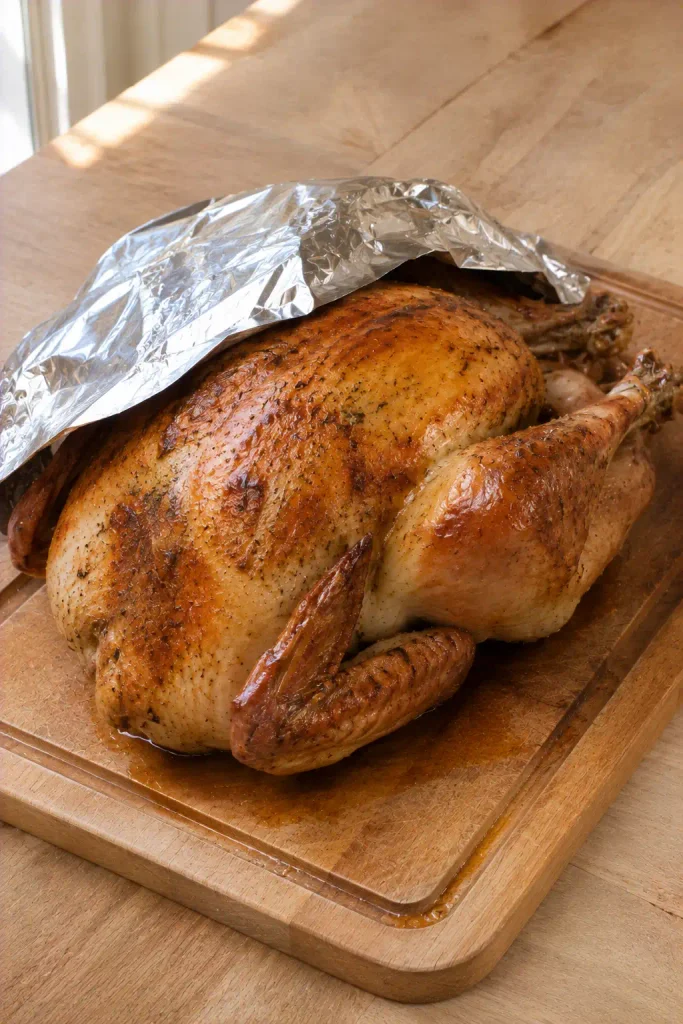
A turkey needs a short rest after leaving the oven. Cutting it immediately allows more of its juices to run onto the carving board.
Once the turkey has reached 165°F (74°C) in all required locations, transfer it to a clean carving board or platter.
Let it stand for 20 minutes before carving. You can cover it loosely with foil to help retain warmth, but avoid wrapping it tightly.
If the turkey was stuffed, wait until after this rest before removing the stuffing. The rest also makes the meat easier to carve.
Step 17. Finish and Reheat the Christmas Side Dishes

Your turkey is resting, so use this window to finish the dishes that need attention closest to serving time.
For our sample menu, reheat the prepared potatoes in the oven until hot and crisp. Cook the green beans on the stovetop until tender, and finish the gravy in a saucepan.
Keep these temperatures in mind:
- 165°F (74°C): Reheat previously cooked, refrigerated side dishes.
- 140°F (60°C) or above: Keep hot food at this temperature if holding it for service.
- Bring to a boil: Reheat previously prepared gravy thoroughly.
Organize Your Final Christmas Dinner Cooking Jobs
CHRISTMAS DAY FINAL COOKING GUIDE
Where Each Dish Goes Before Dinner
Plan these cooking stations so the oven and stovetop are not overcrowded.
🥔 Oven: Roasted Potatoes
If they cannot roast alongside the turkey, cook them earlier and use the final oven window to heat and crisp them.
🥬 Stovetop: Green Beans
Cook close to serving time so the beans stay tender without becoming overly soft.
🥣 Saucepan: Turkey Gravy
Reheat prepared gravy to a boil. Whisk in a little stock if it has thickened during storage.
🍰 Refrigerator: Trifle
Keep the prepared dessert chilled until dessert time. Add any crunchy toppings shortly before serving.
💡 A Helpful Scheduling Rule
Do not rely on a 20-minute turkey rest to roast potatoes from raw. Give them an earlier cooking slot if the recipe needs longer.
Step 18. Carve the Main Dish for Serving
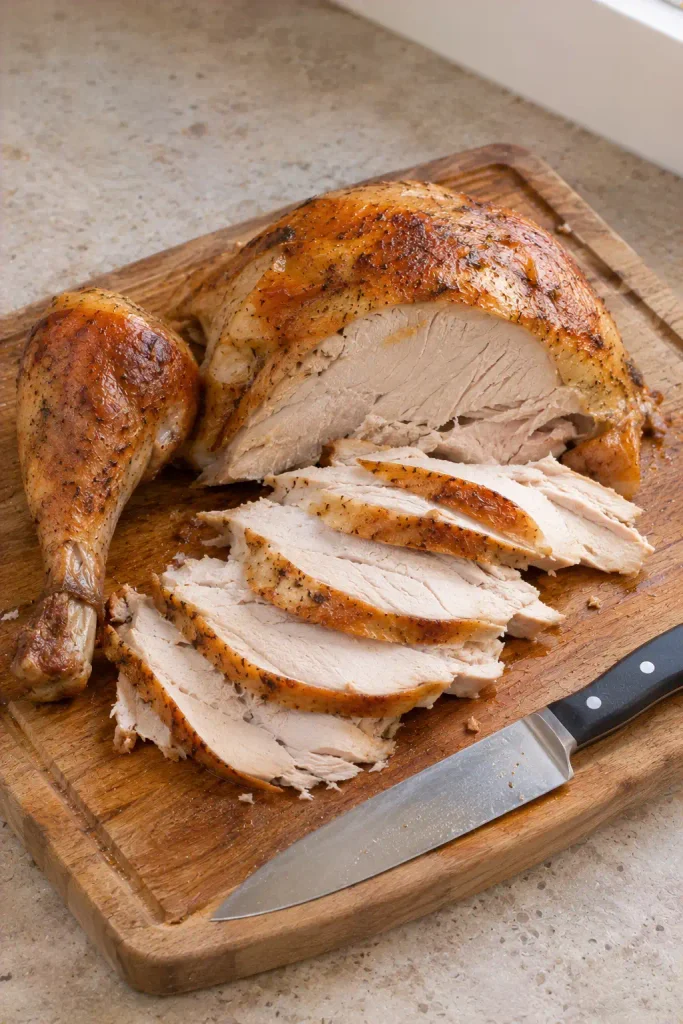
A sharp carving knife and a stable board make turkey carving much easier, especially when you’re serving several guests.
After the turkey has rested, place it breast-side up on a carving board with a juice groove.
Use this carving order:
- Remove the legs and separate the thighs from the drumsticks at their joints.
- Remove each breast from the breastbone.
- Slice the breast meat across the grain into pieces about ½ inch (1.3 cm) thick.
Arrange the sliced meat on a clean serving platter. Keep the dark and white meat in separate areas so guests can choose.
Step 19. Serve Christmas Dinner at the Planned Time
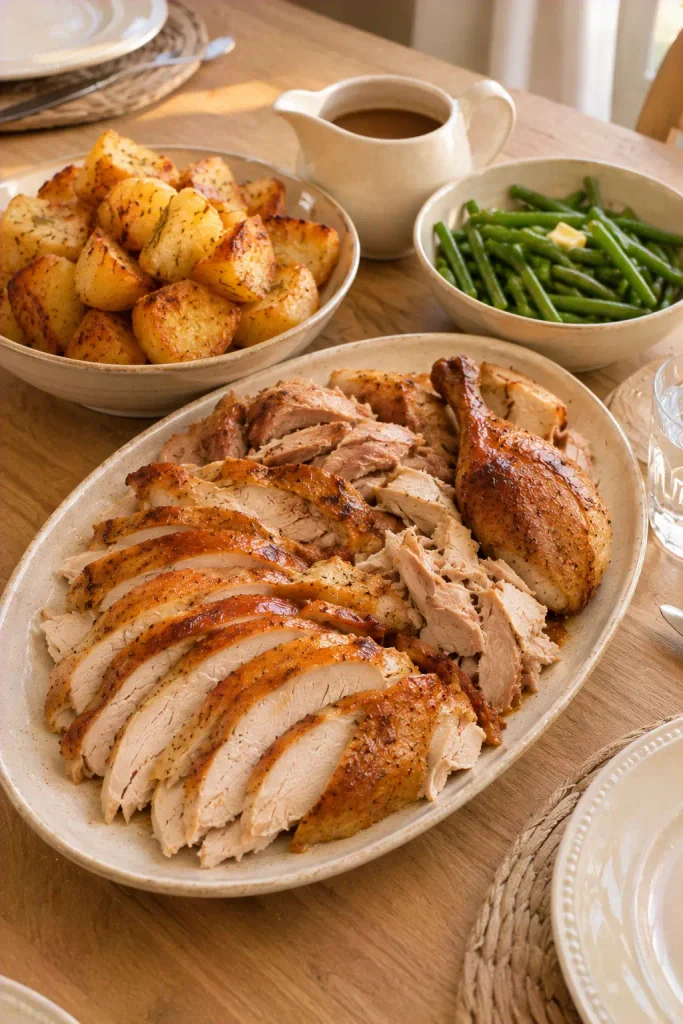
Your turkey is carved, the potatoes are ready, and the gravy is hot. It’s time to bring everything to the table.
For our sample schedule, aim to serve dinner at 5:00 PM.
Before guests begin eating, make one final check:
- Turkey: Carved and arranged on a clean platter.
- Potatoes: Hot, with crisp golden edges.
- Green beans: Tender and ready to serve.
- Gravy: Hot and poured into a serving jug.
- Table: Plates, cutlery, drinks, and serving utensils ready.
Keep hot food at 140°F (60°C) or above if it must wait before serving.
Once everyone has finished, refrigerate perishable leftovers within 2 hours. Store large portions of turkey in smaller, shallow containers so they cool more quickly.
Your Christmas dinner is now ready to enjoy.
Christmas Dinner Troubleshooting Guide
If something isn’t going according to plan, focus on the dish causing the delay. Most timing problems can be managed by adjusting when you finish the side dishes.
For food safety, never remove an undercooked turkey early to meet the dinner deadline. The thickest breast and innermost thigh and wing must each reach 165°F (74°C).
CHRISTMAS DINNER TROUBLESHOOTING
5 Common Problems and What to Do
Quick solutions for a smoother Christmas Day cooking schedule.
| If This Happens | Try This |
|---|---|
| 🍗 The turkey is taking longer to cook | Keep roasting and check its temperature again. Every required location must reach 165°F (74°C). Delay carving and adjust the side dishes rather than serving undercooked turkey. |
| 🥔 The roasted potatoes are not crispy | Spread them across the baking tray instead of crowding them. Follow your recipe’s roasting temperature and allow moisture to evaporate. If refrigerated after earlier cooking, reheat to 165°F (74°C). |
| 🥣 The gravy is too thick | Whisk in warm stock, a tablespoon at a time, until the consistency improves. If reheating previously prepared gravy, bring it to a boil before serving. |
| 🔥 Several dishes need the oven | Give the turkey priority. Move suitable vegetables and gravy to the stovetop. Cook potatoes earlier if necessary, then reserve a short oven window for reheating and crisping. |
| ⏰ The side dishes are ready too early | Keep hot foods at 140°F (60°C) or above. If they will not be served promptly, refrigerate within 2 hours and reheat properly before serving. |
💡 The Most Useful Backup Plan
If the turkey runs late, adjust the serving time. Food safety comes before the schedule. Keep other dishes safely hot or refrigerate them promptly if they need to wait longer.
Frequently Asked Questions About Planning Christmas Dinner
These are the questions first-time Christmas dinner hosts are most likely to have after working through the planning steps.
CHRISTMAS DINNER QUESTIONS ANSWERED
5 Helpful Answers for First-Time Hosts
1. How far in advance should I start planning Christmas dinner?
Start about 10–14 days before Christmas. This gives you time to confirm guests, choose the menu, check your equipment, and shop without rushing. Begin thawing a frozen turkey according to its weight and required refrigerator thawing time.
2. Can I cook my Christmas turkey the day before?
Yes. Cook it until it reaches 165°F (74°C) in all required locations. Carve or divide it into smaller portions and refrigerate in shallow containers within 2 hours. Reheat the turkey to 165°F (74°C) before serving it hot on Christmas Day.
3. What food can I prepare on Christmas Eve?
You can peel and cut potatoes, trim green beans, make suitable sauces, and prepare a make-ahead dessert. Keep peeled potatoes submerged in cold water in the refrigerator overnight. Store the other prepared foods in suitable covered containers and follow their storage instructions.
4. What should I do if my turkey finishes cooking earlier than planned?
Allow the turkey to rest before carving. If you need to hold it hot for longer, maintain a food temperature of at least 140°F (60°C). For a longer delay, refrigerate it promptly in smaller portions rather than leaving it at room temperature.
5. How long can I keep leftover Christmas turkey?
Refrigerate cooked turkey within 2 hours and use it within 3–4 days. Store leftovers in shallow, covered containers at 40°F (4°C) or below. Freeze portions you will not eat within that period.
📌 Planning Reminder
Your dinner does not need to be complicated. One main dish, a few dependable sides, a make-ahead dessert, and a written cooking schedule are enough for a welcoming Christmas meal.
Christmas Dinner Planning Checklist and Timeline
The checklist brings all 19 steps together, from planning two weeks ahead to serving dinner on Christmas Day.
SAVE THIS CHRISTMAS DINNER CHECKLIST
Your Christmas Dinner Planning Timeline
Follow these 19 steps to plan, prepare, and serve Christmas dinner without leaving everything until the last minute.
📅 10–14 Days Before Christmas
☐ 1. Set your Christmas dinner serving time.
☐ 2. Confirm guests and dietary requirements.
☐ 3. Choose a manageable Christmas dinner menu.
☐ 4. Calculate food quantities for your guests.
☐ 5. Check oven space and cooking equipment.
🛒 7–9 Days Before Christmas
☐ 6. Write your complete grocery shopping list.
☐ 7. Build your Christmas dinner cooking timeline.
☐ 8. Buy pantry ingredients and nonperishable supplies.
❄️ Several Days Before Christmas
☐ 9. Thaw frozen turkey safely in the refrigerator.
☐ 10. Buy fresh and refrigerated ingredients.
☐ 11. Prepare suitable make-ahead dishes.
🥕 Christmas Eve: December 24
☐ 12. Prepare and refrigerate the vegetables.
☐ 13. Set the Christmas dinner table.
🎄 Christmas Day: December 25
☐ 14. Roast the turkey according to your cooking plan.
☐ 15. Check the turkey’s internal temperature.
☐ 16. Rest the roast before carving.
☐ 17. Finish and safely reheat the side dishes.
☐ 18. Carve the turkey and arrange the platter.
☐ 19. Serve Christmas dinner.
🍽️ Your Christmas Dinner Essentials
✓ Confirmed guest list
✓ Christmas dinner menu
✓ Grocery shopping list
✓ Written cooking schedule
✓ Roasting pan and baking trays
✓ Food thermometer
✓ Storage containers
✓ Serving dishes and utensils
⏰ Sample Christmas Day Serving Plan
12:30 PM: Illustrative oven start for a fully thawed 9–12 lb unstuffed turkey. Adjust to your recipe, weight, and cooking time.
Before serving: Verify the turkey reaches 165°F (74°C) in all required locations, then allow a 20-minute rest.
4:30–5:00 PM: Finish the hot sides, prepare the gravy, carve the rested turkey, and arrange the serving dishes.
5:00 PM: Serve Christmas dinner.
The turkey may finish earlier or later than this example. Plan safe hot holding at 140°F (60°C) or above if necessary; never leave cooked turkey at room temperature for an extended wait. Roast potatoes may need an earlier cooking slot.
⚠️ Remember These Food Safety Numbers
165°F (74°C): Safe minimum temperature for turkey and reheated leftovers.
140°F (60°C): Minimum hot-holding temperature.
Within 2 hours: Refrigerate perishable leftovers.
3–4 days: Use properly refrigerated cooked turkey or freeze it.
Your Christmas Dinner Plan Is Ready
Knowing how to plan Christmas dinner makes the day much more manageable. You’ve worked out your guest count, chosen a menu, organized your shopping, and prepared a cooking schedule you can actually follow.
Keep your checklist nearby on Christmas Day, and remember that a small change in timing doesn’t have to spoil dinner.
The most important thing is serving food that’s safely cooked, warm, and ready to share with the people around your table.
Save This Christmas Dinner Timeline for Later
Save this guide to your Pinterest Christmas Recipes or Holiday Planning board so you can find the shopping checklist, preparation steps, and cooking timeline when December arrives.